How and Why I Take my Own Instagram Photos
Opposite to popular belief you don’t need an Insta Hubby or Insta BFF in order to have an amazing and poppin’ Instagram or Blog! You can actually take your own Instagram photos (thus, live your best Instagram life)!
Often times I find it easier to shoot my own Instagram photos specifically for blog post and brand campaigns. Although I have a husband that’s amazing at taking my photos (love you Chijioke)! I’ve watched several videos, read articles and had plenty of my own trail and error in order to give you sound advice on shooting your own Instagram photos.
I’m going to provide you with a full list of what I use to take my own Instagram photos and GET THE SHOT. Let’s jump into it!
So here’s Why I Take my Own Photos for Instagram
- I know my vision and what I’m seeking to accomplish. For this reason I’m able to give myself good instruction and appreciate inspiration photos while making the photo my own.
- When I’m in front of someone else’s camera I’m straight up weird and
awkwardAF. When I take my own Instagram photos I can get a few shots, look at it, and easily make adjustments to small things such as hand placement or eye contact. When I have someone taking my photos I understand that my process can be annoying AF. 🤷🏾♀️ - I don’t have to rely on someone else’s schedule to execute a vision for my Instagram photos, a Blog Post or just practice something I fell in love with on Pinterest. Being able to shoot my own Instagram photos whenever it works for my schedule is freeing! Not to mention, I can be awkward in peace 😆🙌🏾.
- And finally a major reason I take my own Instagram photos is so I don’t have to feel like I’m annoying my husband and friends by asking them to take photos while we’re out enjoying one another. While I do know they’d be willing to help, I prefer to live in each moment. So that means sometime we take pictures for fun, but I’m not
PRESSEDabout how they come out! I know I can GET THE SHOT all by myself! ☺️
Here’s the set up I use to take my own Instagram photos:
Beginner- iPhone Only
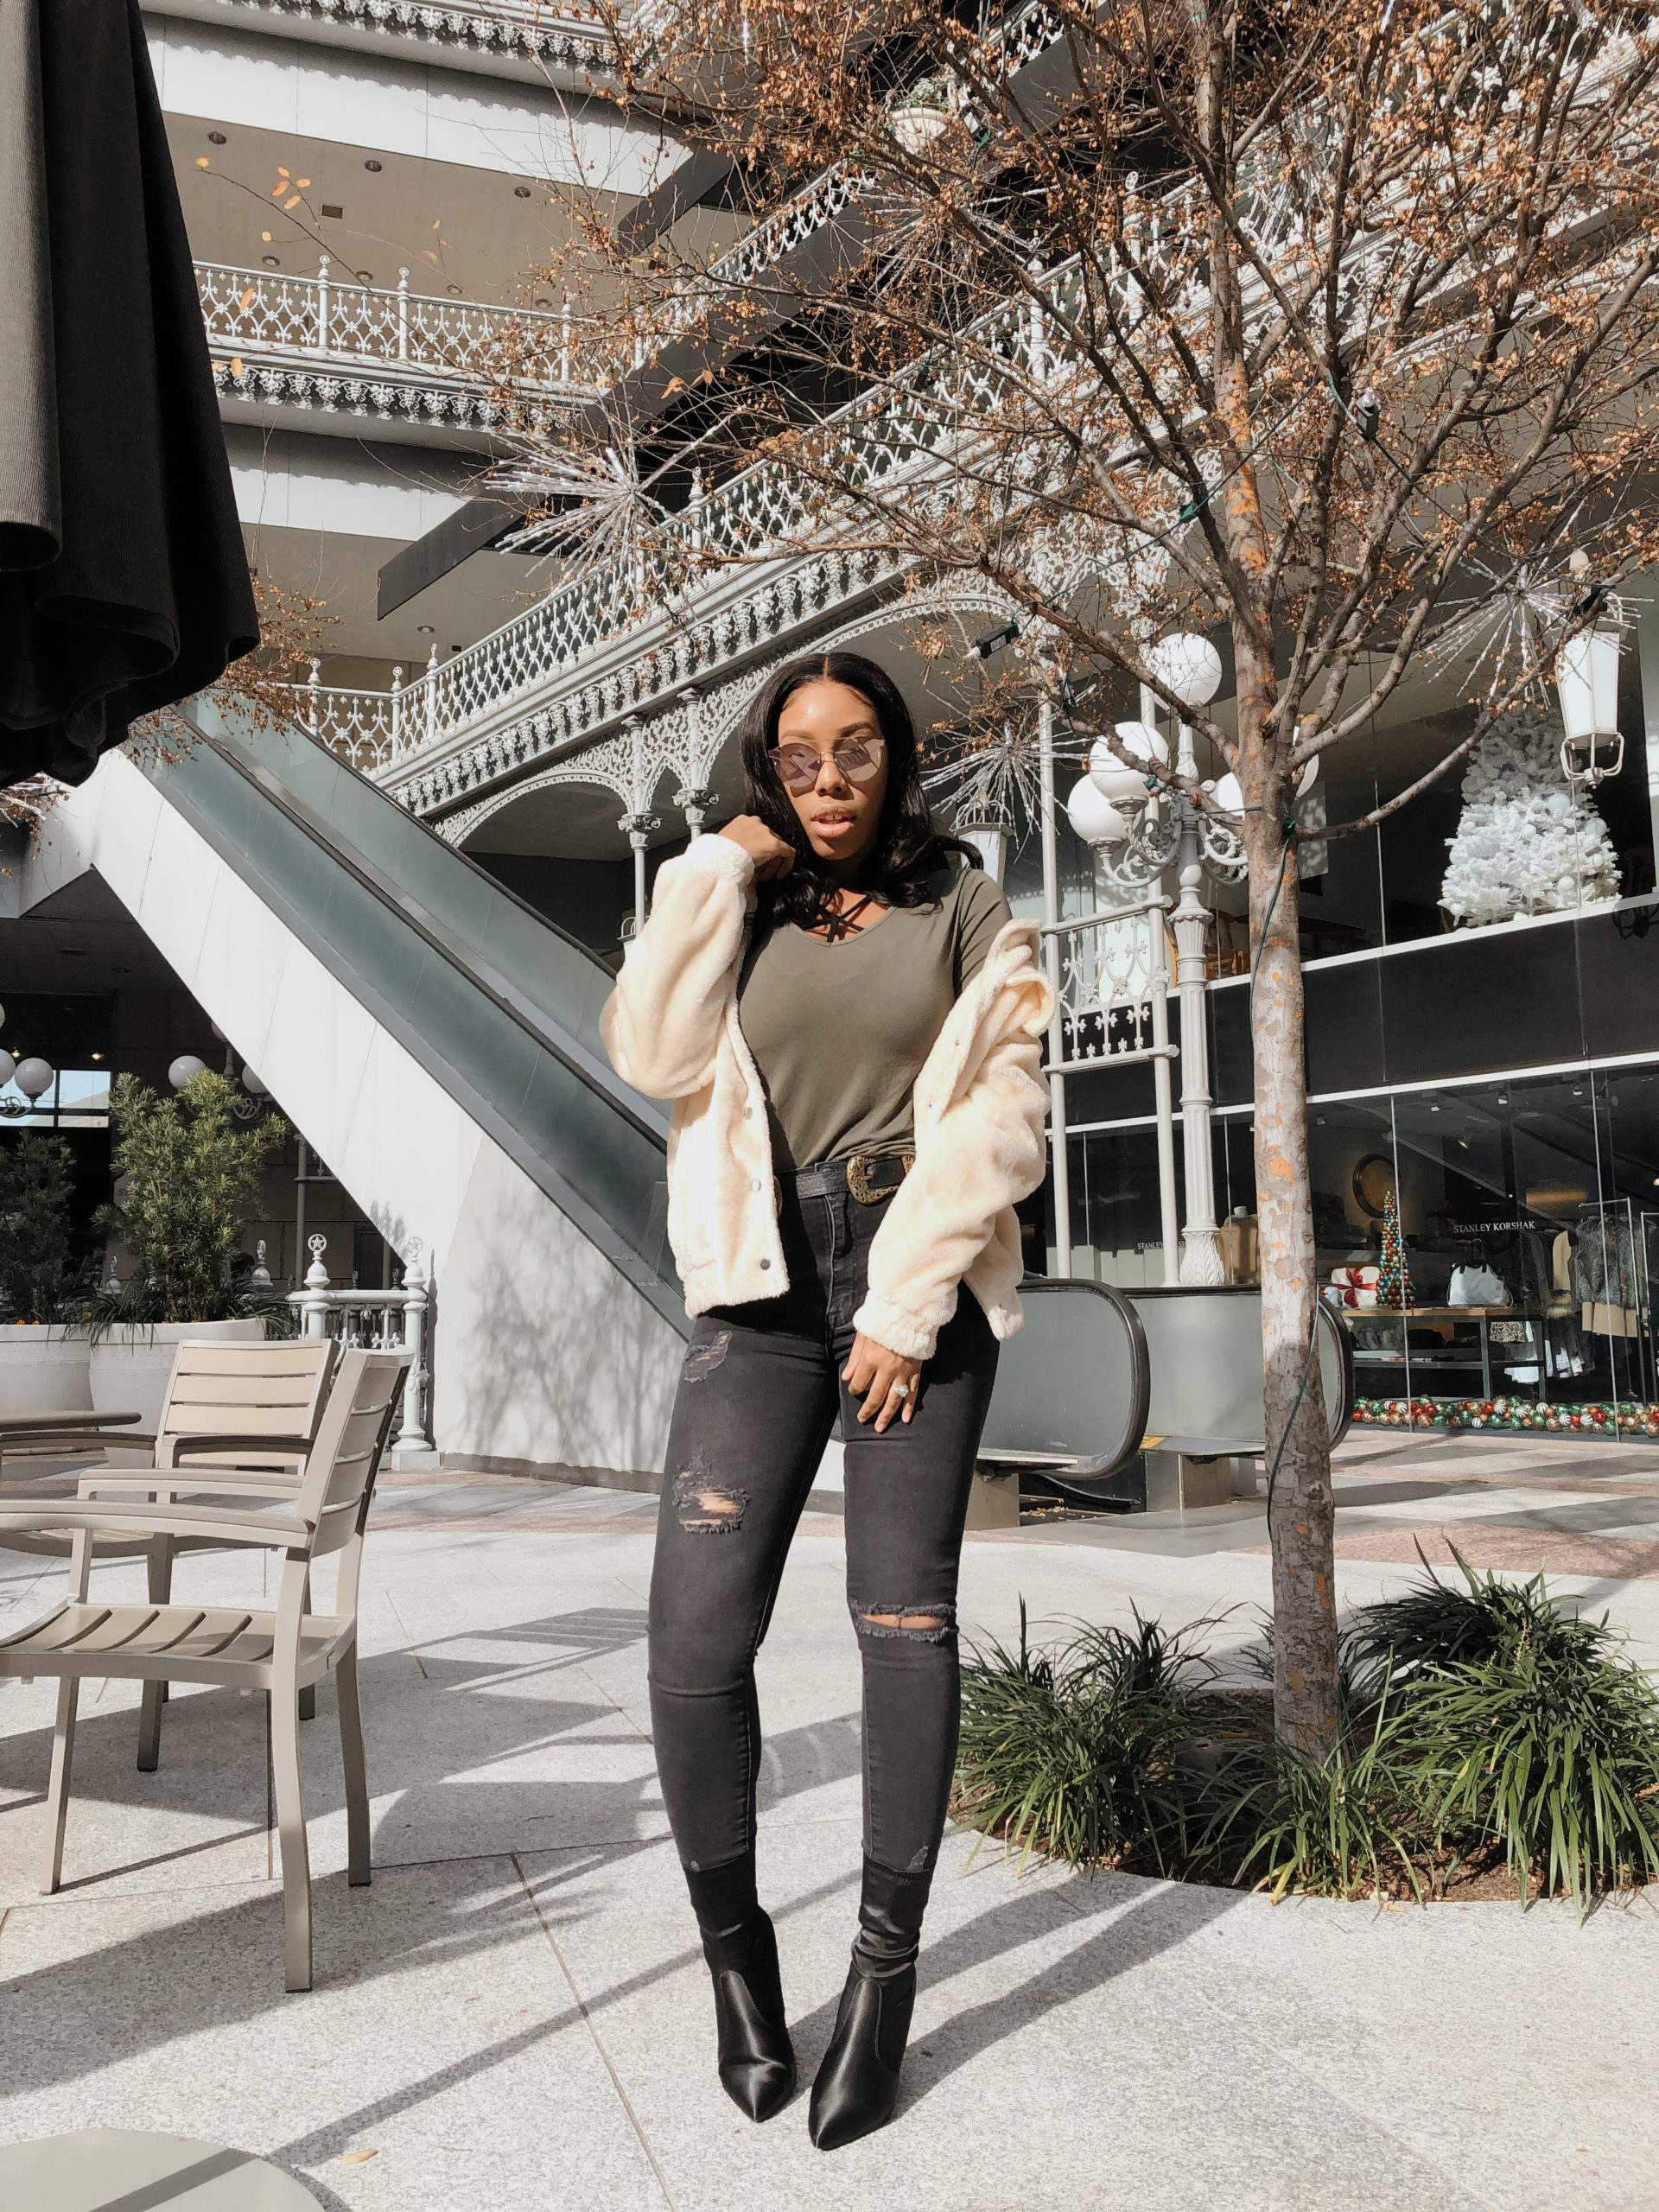
In the beginning I used only my phone, the self-timer set to 10 seconds, and random places I found to sit my phone whether it was a window ledge, TV stand or on a restaurant table while using the salt shaker as a stabilizer. You have to get creative if you’re taking this route.

Gear Used: Shot on my iPhone 8, stabilized on a table, and Self-timer set to 10 seconds. It took me 6 shots to get this photo.
Intermediate- iPhone + Remote + Tripod
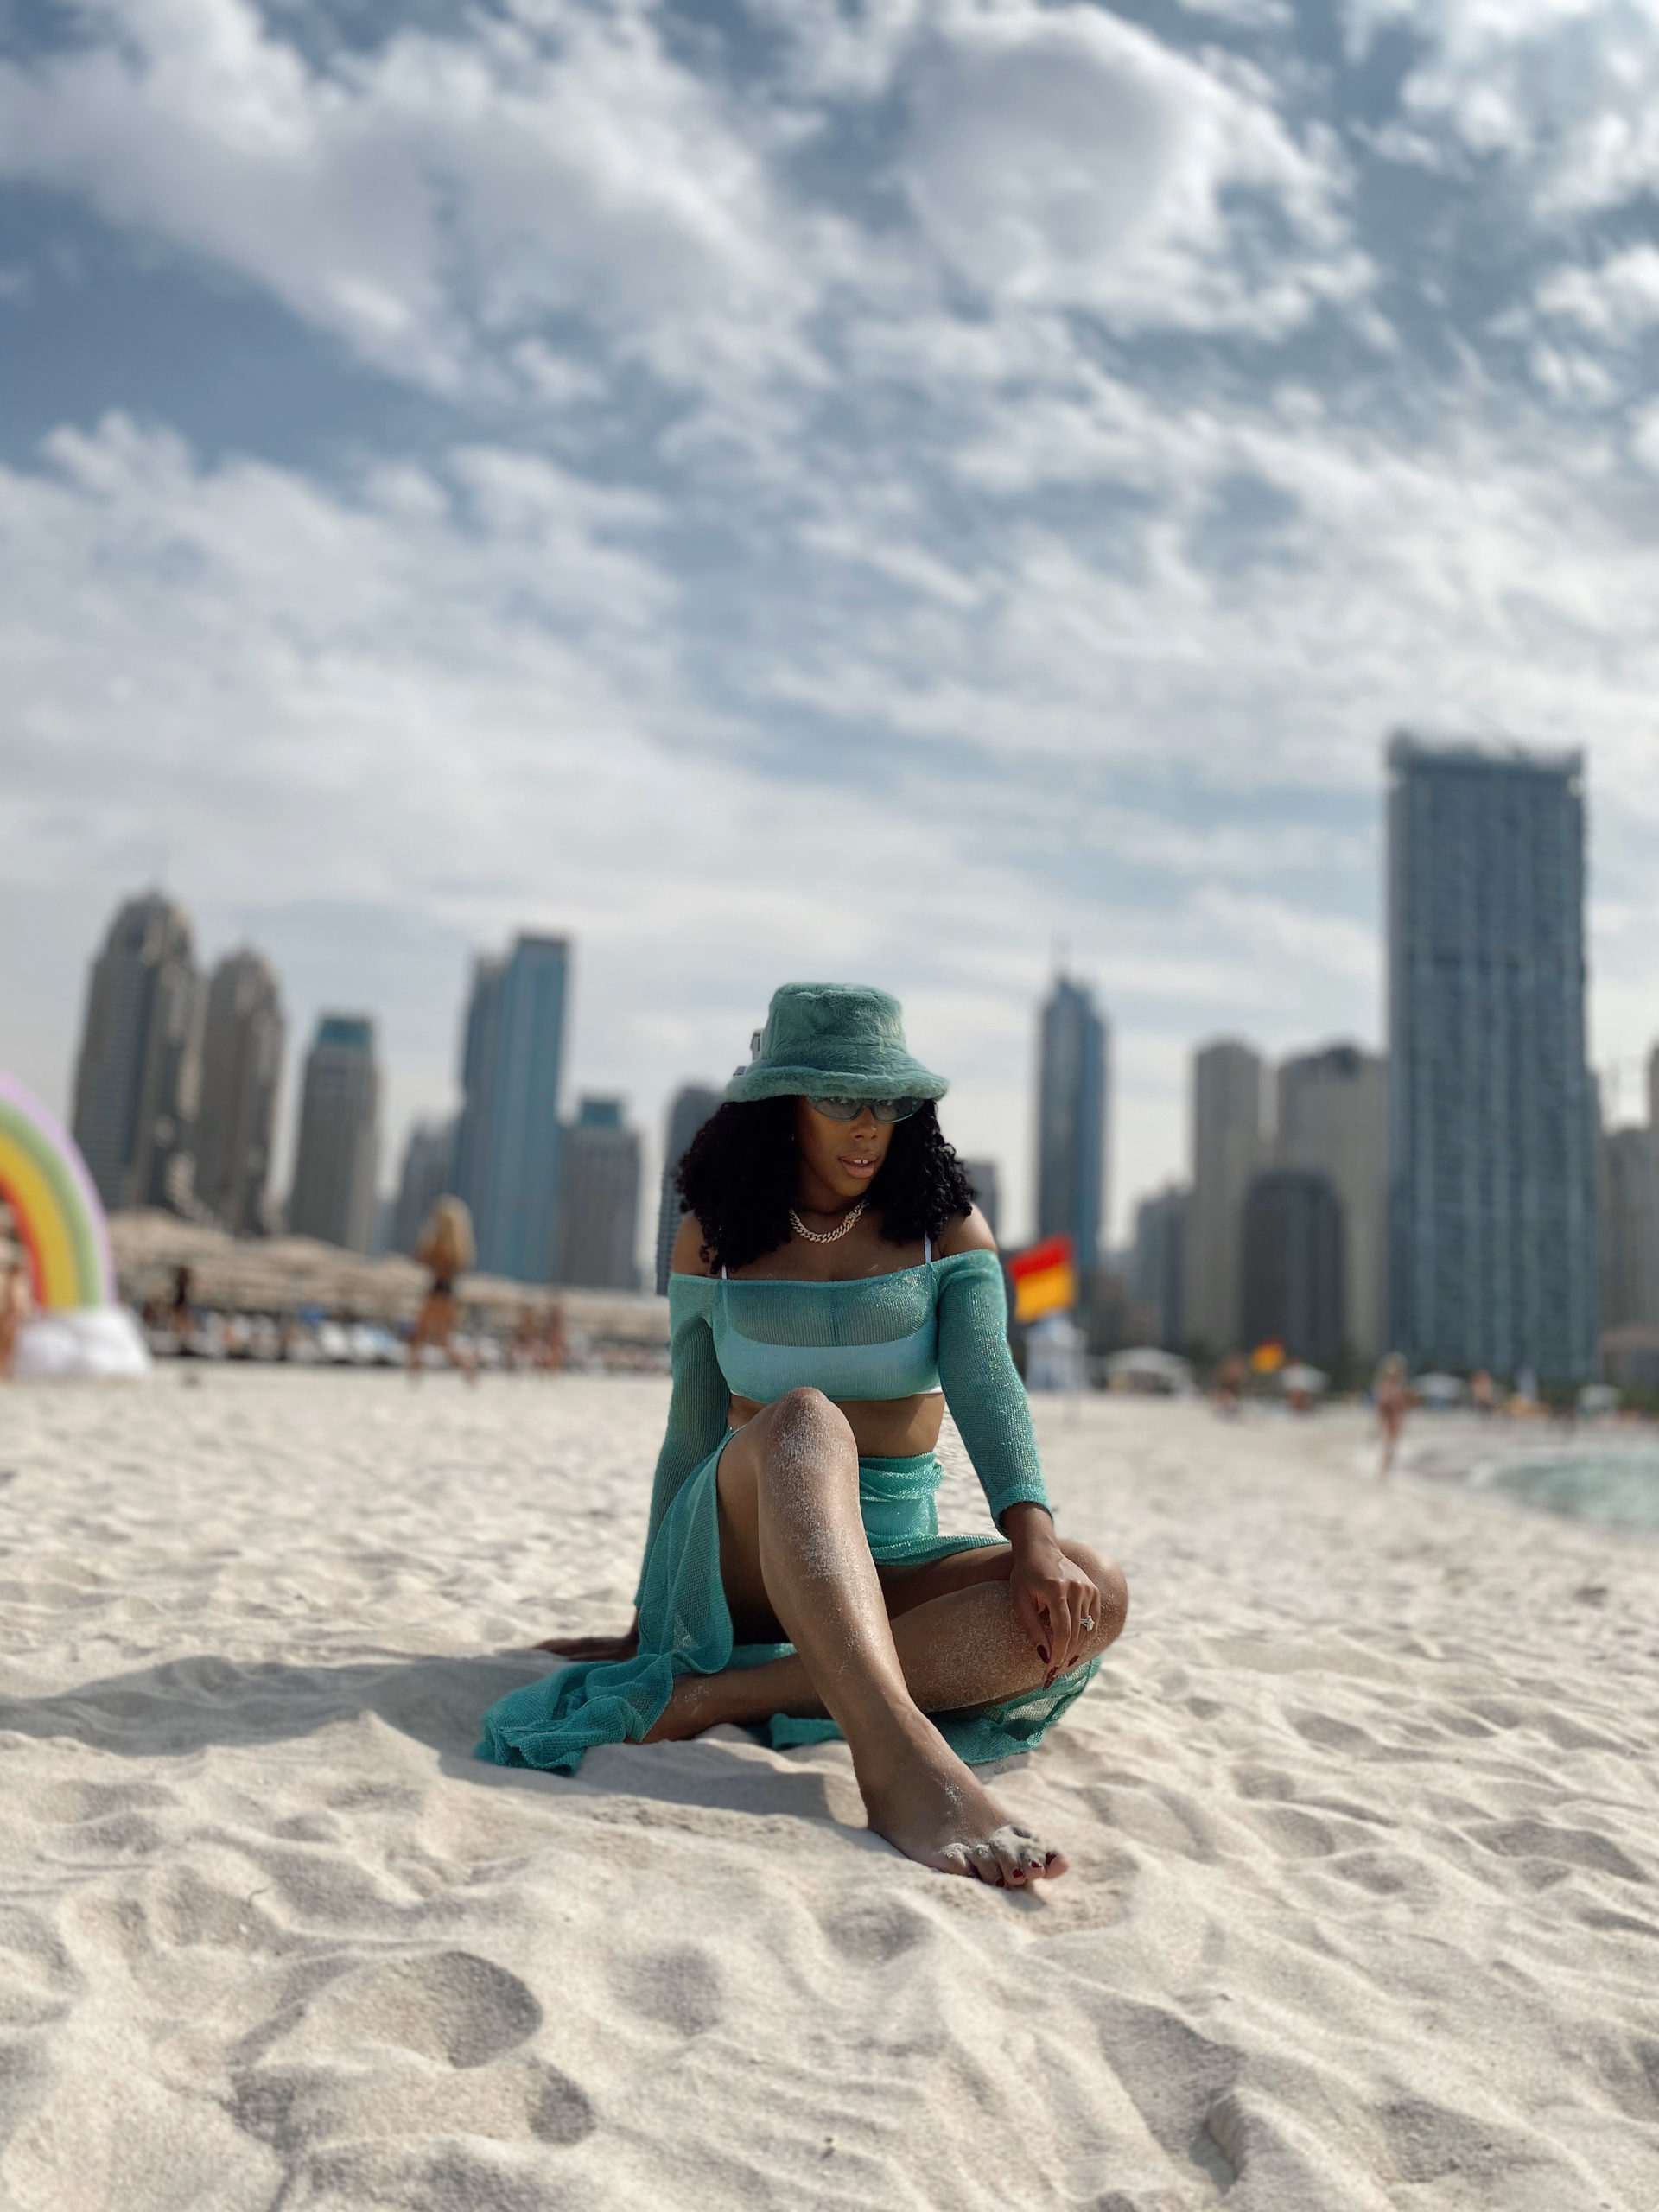
Now I use my iPhone with a small tripod (specifically for phones) and a clicker. I bought the tripod + clicker duo on Amazon for about $18 and they‘re game changers. (Everything used is listed below.) I definitely recommend some version of these two if you want to step up your photo game a bit. The clicker is also a huge time-saver because it eliminates the need to stand up and reset the timer between every shot.
If you’re currently using a similar set up, but you want to really up your iPhone Instagram photo game I would suggest the tripod I used for our Dubai trip. It created the best vantage point and stabilization with the legs of tripod (it can twist and grip all sorts of objects)! I like this option because a lot of public places won’t allow you to pull out a full tripod and don’t allow the use of a DSLR.

Gear Used: Shot on my iPhone 8 Plus, propped onto a table, and Self-timer set to 10 seconds. It took me 11 shots to get this photo.
Advanced- DSLR + Image App + Tripod
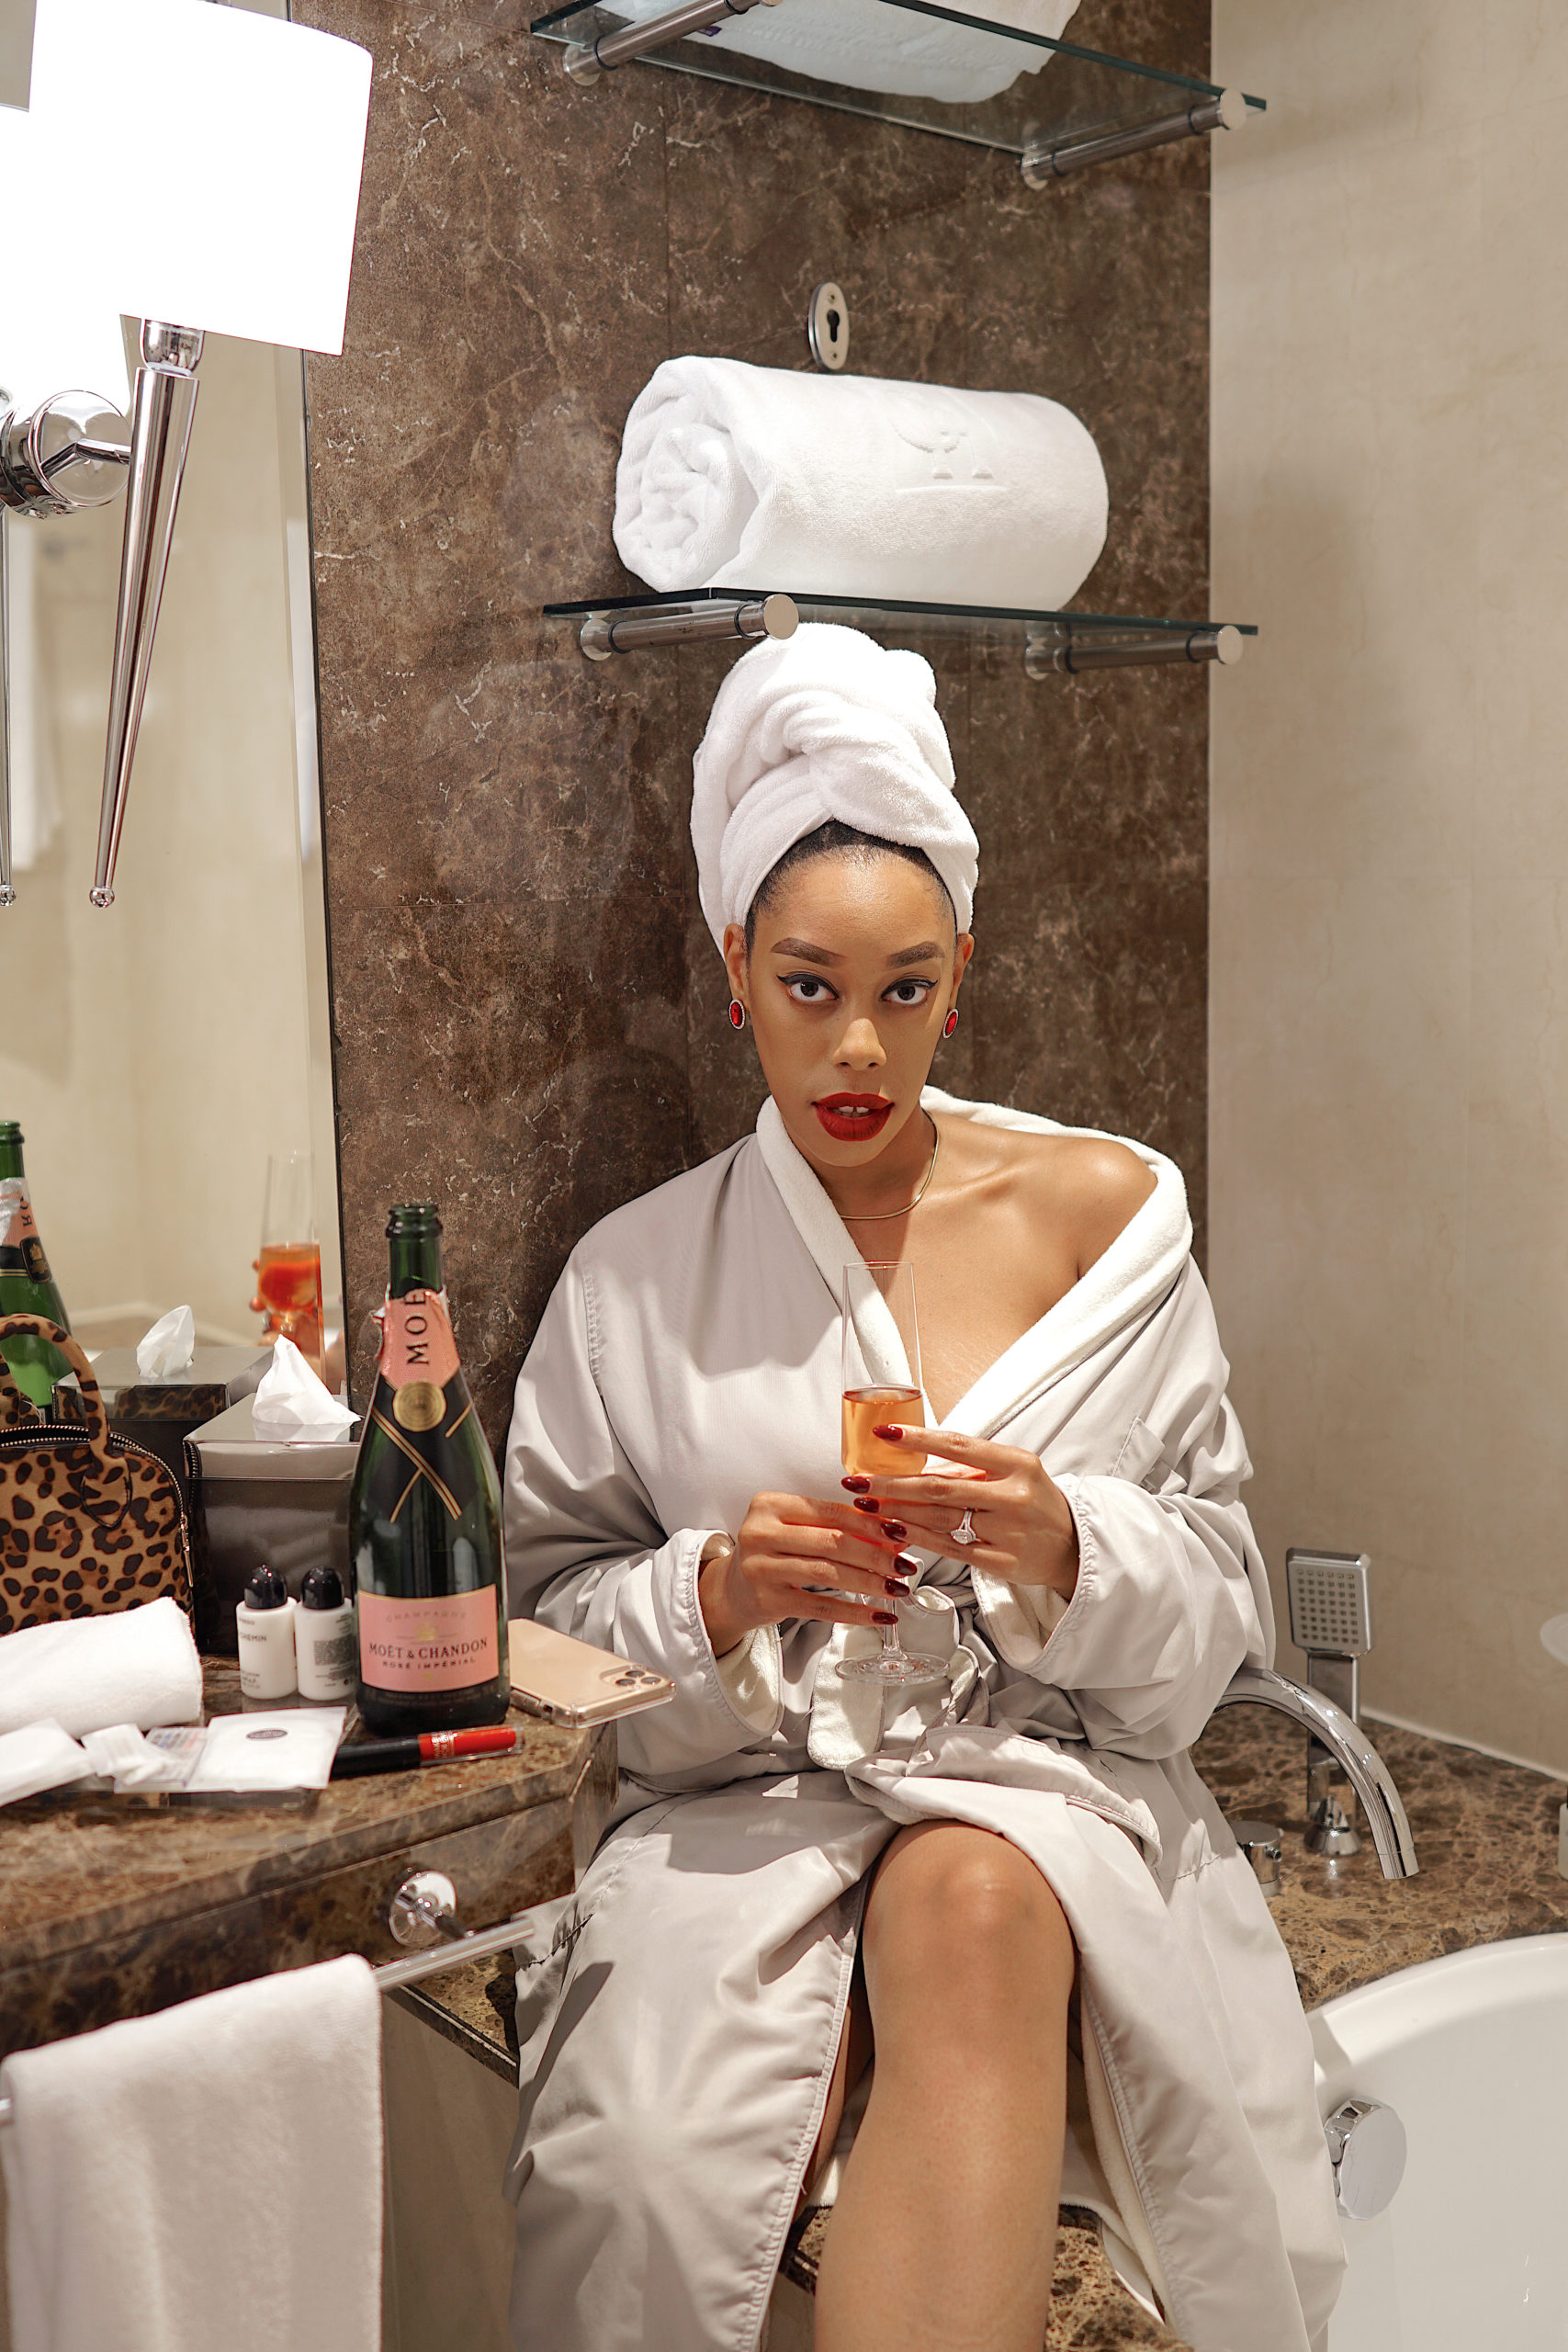
Now, this is where I’m able to get the best advantages for myself because I’m using my DLSR camera paired with my prime lens, full tripod, and photo image app that partners my camera. I love this set up for a couple of reasons: A full tripod allows me to better use wide open spaces. I use this at home, in hotels, and outside in open areas. Also, the photo image app allows me to see exactly what my lens in capturing (this is a downloadable app provided by your camera maker), lock auto focus on the camera, and make camera settings adjustments all from phone. Can we say game changer. It has a 10 second auto timer as well; which gives me plenty of time to hide my phone and strike a pose before the click of the camera!

Gear Used: Shot on my DLSR camera, full tripod, and Image App. It took me 14 shots to get this photo.
Here’s exactly how I take my own Instagram photos
Steps:
- Set up your shot. Are you using the beginner, intermediate, or advanced set up? Decide where your phone/ camera to sit and create the framing you’re looking for.
- Set your timer. (there is a 3 seconds, but I always opt for 10 seconds)
- Strike a Pose!
- Repeat. Do this until you’ve achieved the photo you like.
- Side Note: If you have a clicker, you don’t have to get up and reset every time, and you can actually take normal, non-timed photos. Just make sure you hide the remote in your photos!
Here’s all of the equipment I use to take my own Instagram photos
And that’s it! If I can do it, trust me… You can do it too! I’d love to see some of your Instagram Worthy self portraits, so send them my way on Instagram @iamamandansofor and tag #selfportraitpro so we can see your work!

6 thoughts on “Taking My Own Instagram Photos”
I love this!!! I’m getting ready to launch something soon and I need the ability to take some bomb photos and I have all of the tools you mentioned! I am super excited!
Hi Jennifer! Yesssss! First of all congrats on your launch! And yes, it only takes a slight change in the way we do things to see a BIG return!
This was a great post! I love snapping my own pictures but wasn’t sure of how to go about capturing professional quality photos on the go. Thank you for taking the time to share the exact process
Hey Tamika, I’m so glad this post helped you! *does happy dance!** The best advice I can give is, to use the tools you have! I would start investing in small ways and see if you notice a difference! Keep me post on how it goes. I would start applying any new knowledge as soon as possible!
Wow! This was very informative…. got me feeling like I can do it too! I‘m working on my patience so that I am to stick with all the new things I like to dub and dab into🙄🤦🏽♀️
Yes Landra! Sticking to it is the hardest part. But if you do you will def get better and better!